
how to fix blurry photos on smartphone usually comes down to a few predictable causes: the camera can’t lock focus, your hands move a little, the lens has smudges, or the phone quietly cranks up exposure in low light.
The good news is you rarely need a new phone or a fancy app, a handful of simple settings and habits can bring back sharp photos fast. The tricky part is identifying which “type of blur” you’re dealing with, because the fix changes.
This guide walks you through quick diagnosis, the settings that matter most on iPhone and Android, and a few practical shooting routines that work in real-life situations like indoor dinners, kids moving, and night street shots.
Know your blur type first (it saves time)
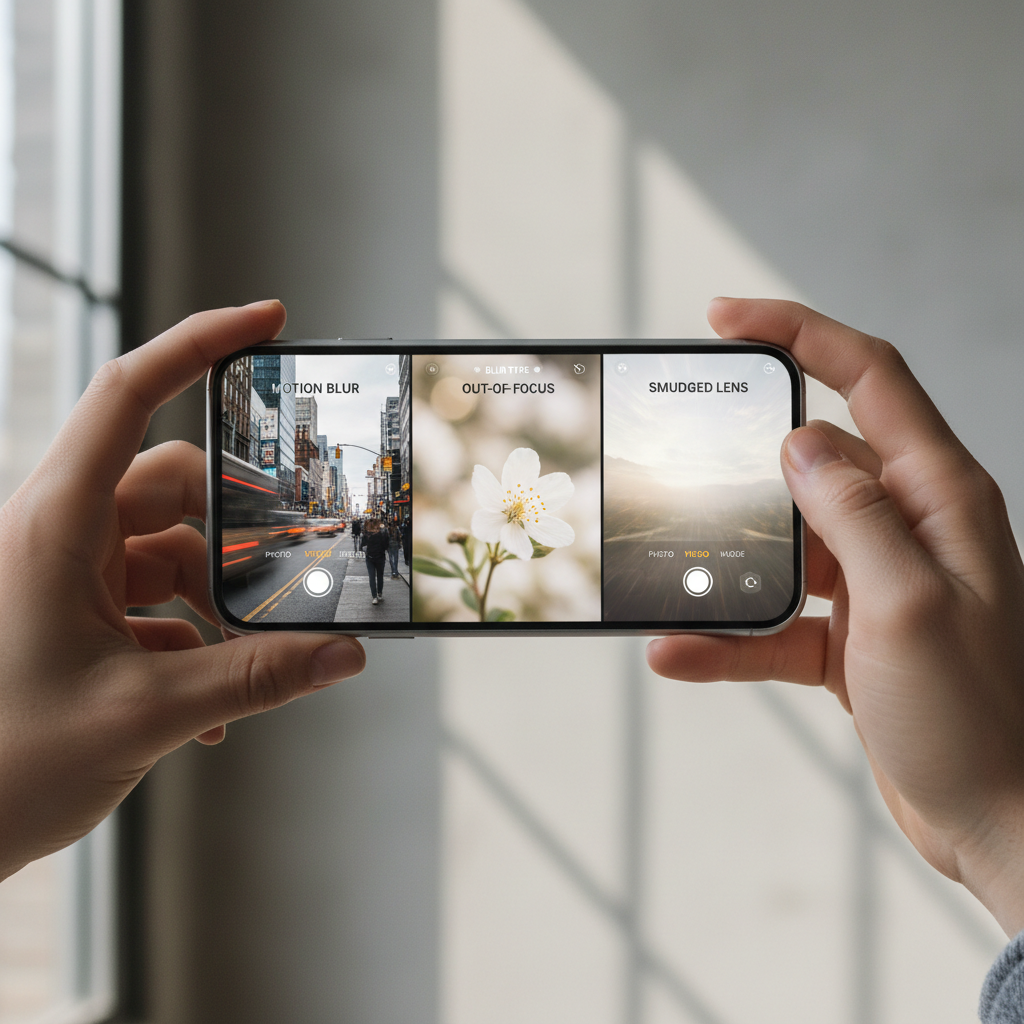
Before you change anything, look closely at the blurry photo you already took. Most smartphone blur fits one of these patterns, and each points to a different fix.
- Out-of-focus blur: the whole subject looks soft, often because focus grabbed the background or the camera never “locked.”
- Motion blur: streaking or double edges, usually from shaky hands or a moving subject in low light.
- Lens haze: the image looks smeared or glowy, contrast drops, highlights bloom, often from fingerprints or condensation.
- Digital mush: details look painted, common when the phone boosts ISO (sensor sensitivity) and noise reduction gets aggressive.
If you can name the blur, you can usually fix it in under a minute.
Quick self-check: 60 seconds to pinpoint the cause
Use this short checklist on your next shot. It’s not glamorous, but it’s the fastest route to sharp photos.
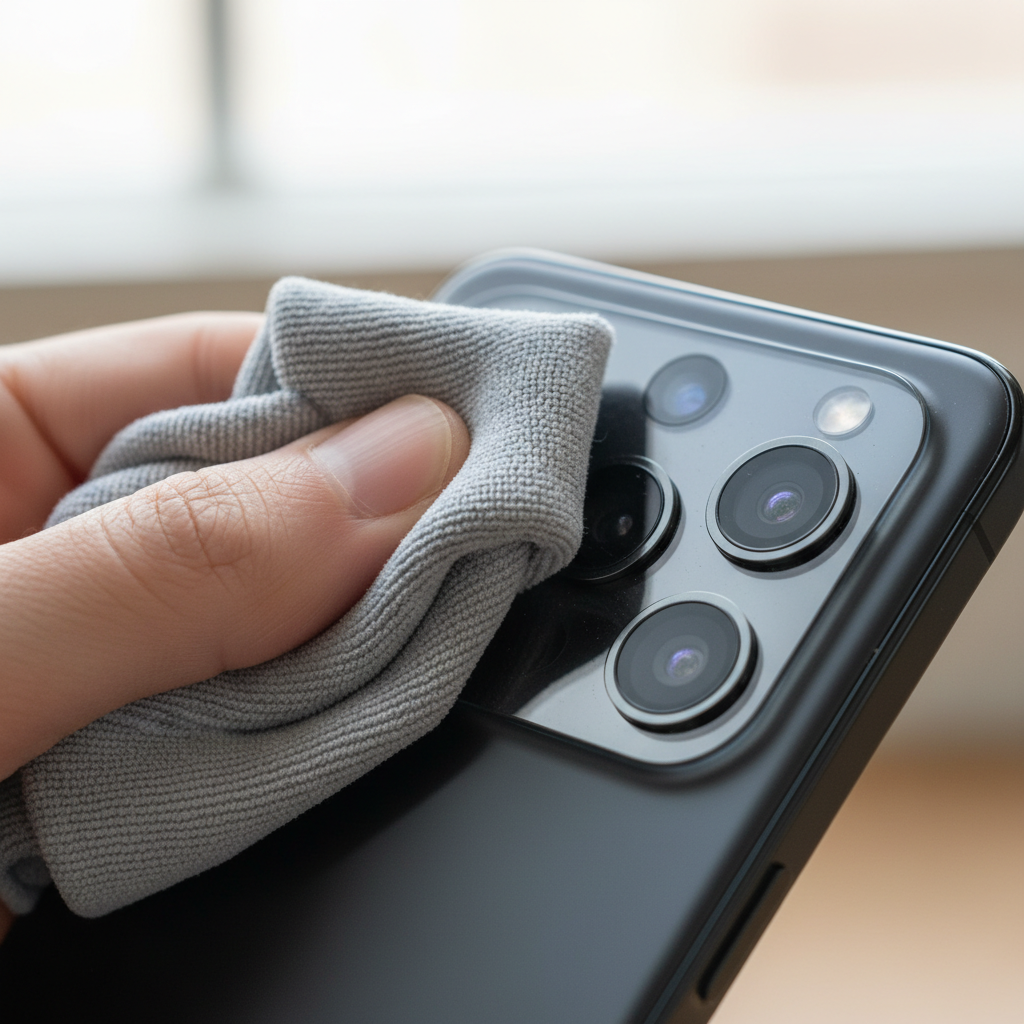
- Wipe the lens with a clean microfiber cloth or soft cotton, then take the same shot again.
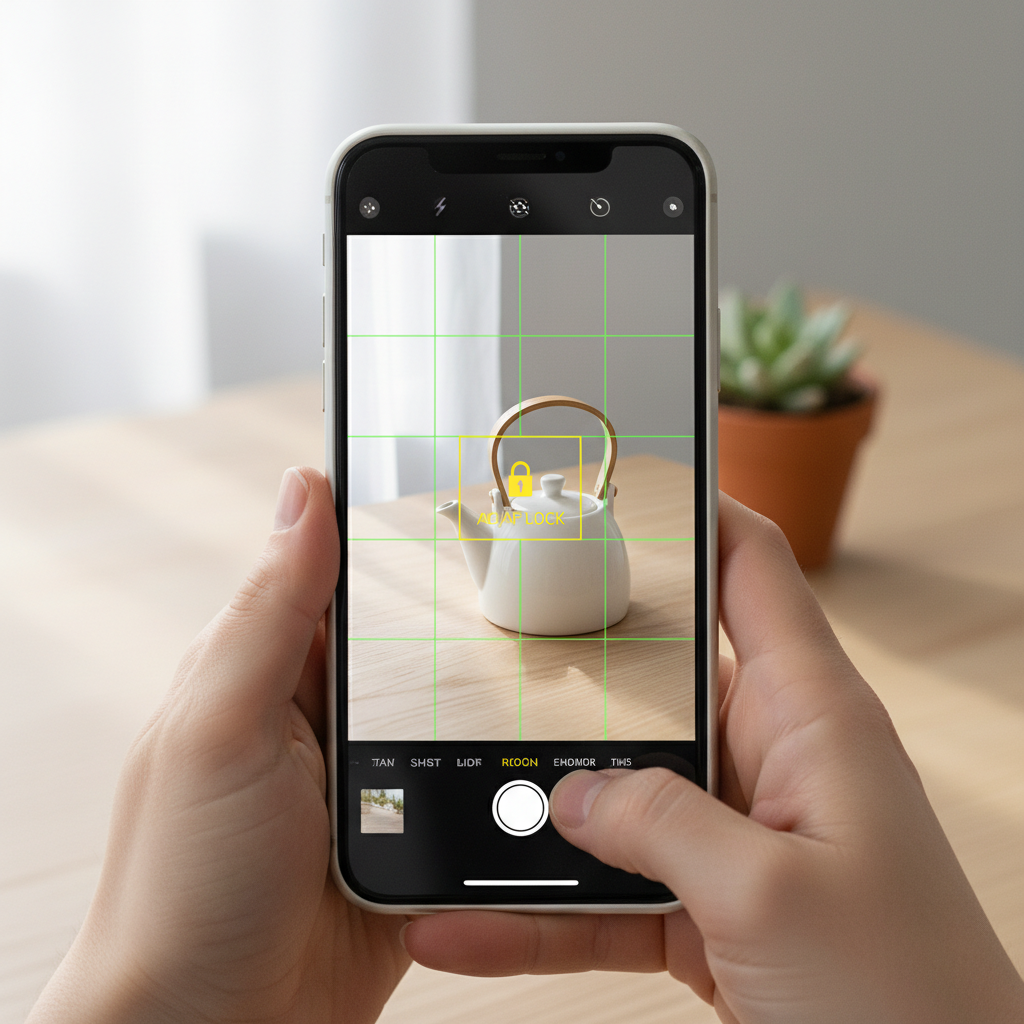
- Tap to focus on your subject’s face or the object edge you care about most, then hold for AE/AF lock if your camera supports it.
- Check lighting: if the room is dim, blur often comes from longer exposure time, not “bad camera quality.”
- Stabilize: elbows against your body, breathe out, then press the shutter gently.
- Try 2x shots: one with flash off, one with flash on, compare sharpness and skin tone.
- Switch lenses (0.5x / 1x / 2x). Some phones use a different sensor for each, and one can be noticeably sharper.
If the second attempt is sharp, you’re done. If it’s still blurry, move to settings.
Simple settings that fix most blurry smartphone photos
These are the settings that matter in the real world. They’re also the ones people skip because they sound “advanced,” even though they’re usually one tap away.
1) Use focus lock when the camera keeps “hunting”
If the phone refocuses every time your subject moves slightly, your shot can end up soft. Tap your subject, then hold to lock focus/exposure (often shown as AE/AF Lock). Reframe, then shoot.
2) Turn on grid lines to reduce accidental tilt and shake
Grid lines don’t directly sharpen images, but they help you hold the phone steadier and keep the subject on the same plane. Many people get blur because they twist the phone while pressing the shutter.
3) Prefer the 1x lens in low light
In dim conditions, 2x is often a crop or a smaller sensor lens, which can force slower shutter speeds and higher ISO. Use 1x, step closer, then crop later if needed.
4) Use Night mode intentionally, not by accident
Night mode can be great, but it usually requires you to hold still longer. If your phone turns it on automatically, try turning it off for moving subjects, or shorten the exposure time if your camera allows it.
5) Reduce motion blur with burst or Live Photos equivalents
For kids, pets, or any quick moment, burst mode increases the chance of one tack-sharp frame. Some phones also let you pick the best frame from a short clip.
According to Apple Support, tapping to set focus and using focus/exposure controls can improve shot consistency in challenging lighting.
A practical “what to do” table (by scenario)
When you’re trying to remember how to fix blurry photos on smartphone in the moment, it helps to think in scenarios, not camera theory.
| Situation | What blur usually is | Fastest fix | Setting to try next |
|---|---|---|---|
| Indoor dinner, warm light | Motion blur + high ISO | Brace elbows, tap focus | Night mode off for moving people, use 1x |
| Kids/pets running | Subject motion | Burst mode | More light, shoot near a window |
| Text/documents | Focus miss | Tap the text, hold steady | Use document scan mode if available |
| Night street | Handshake in long exposure | Lean on a pole/wall | Night mode with shorter timer, or tripod |
| Backlit portraits | Exposure/focus confusion | Tap face, lock AE/AF | Lower exposure slider slightly |
Step-by-step fixes that work on iPhone and Android
The exact buttons vary, but the workflow is basically the same. Do these in order so you don’t waste time.
Step 1: Clean, then remove case interference
Some cases or cheap lens protectors create flare and softness, especially with bright lights at night. If photos look hazy even after cleaning, remove the case or protector for a quick comparison shot.
Step 2: Lock focus on the right plane
Tap the subject, not the background. For close-up shots, make sure you’re not closer than the camera’s minimum focus distance, if you are, the phone physically cannot focus and everything looks “mysteriously” blurry.
Step 3: Add light before you fight settings
More light lets the phone use a faster shutter speed, which reduces blur. Turn on a lamp, face the subject toward a window, or use a small LED. This single change fixes a lot of “bad camera” complaints.
Step 4: Stabilize like you mean it
- Hold the phone with two hands, elbows tucked
- Use the volume button or a timer to avoid jabbing the screen
- If possible, rest the phone on something stable
Step 5: Use a mode that matches the subject
Portrait mode can look great, but it sometimes misjudges edges in low light. If your results look soft, try the normal Photo mode and focus lock, then edit later.
Common mistakes that keep photos blurry (even with “good settings”)
Most blur problems repeat because the camera is doing exactly what it’s designed to do, just not what you intended.
- Shooting in low light and expecting zero blur: the phone slows shutter speed, then any movement shows up.
- Pinch-to-zoom instead of switching lenses: digital zoom reduces detail fast; prefer 1x or optical lenses if available.
- Focusing, then moving the phone forward: even a small shift changes the focus distance for close subjects.
- Dirty lens “you can’t see”: fingerprint oil is subtle until bright light hits it, then everything turns soft.
- Overusing beauty filters: some smoothing effects lower real detail and mimic blur.
If you’re learning how to fix blurry photos on smartphone, this is the unsexy truth: steadiness and light beat most settings tweaks.
When blur might be a hardware or app issue
If every photo stays blurry across multiple apps and lighting conditions, you might be dealing with something beyond technique.
- Camera glass damage: tiny scratches or cracks can soften images, especially with lights at night.
- OIS issues (optical image stabilization): rare, but a damaged stabilizer can cause persistent softness or jitter.
- Third-party app bugs: if the native camera is sharp but another app is blurry, check that app’s permissions, quality settings, and updates.
According to Google Help, keeping the Camera app updated and testing in Safe Mode (on some Android phones) can help isolate whether a third-party app is causing camera issues.
If you suspect hardware damage, it’s usually safer to consult your carrier, manufacturer support, or a reputable repair shop, especially if the lens cover looks chipped or the camera makes odd noises.
Key takeaways (save this)
- Identify the blur type before changing settings, focus blur and motion blur need different fixes.
- Clean the lens and avoid low-quality lens protectors when sharpness matters.
- Use 1x in low light, and add light whenever possible.
- Tap to focus and lock when the camera keeps shifting focus.
- Stability beats gear: timer, two-hand grip, and bracing make a bigger difference than most filters.
Conclusion: get sharp photos without overthinking it
If you’ve been stuck on how to fix blurry photos on smartphone, treat it like troubleshooting: wipe the lens, confirm focus, add light, then stabilize. Once you do those four consistently, “random blur” stops being random.
On your next photo, try one simple habit: tap to focus, hold steady for one beat, then shoot. If you want a second upgrade, switch to 1x in dim rooms and crop later, it’s often the cleaner result.
FAQ
- Why are my smartphone photos blurry even in daylight?
In daylight, blur is often focus-related or caused by smudges. Tap the subject to force focus, clean the lens, and avoid digital zoom, it can make “softness” look like blur. - How do I fix blurry photos on smartphone at night without a tripod?
Use 1x, brace against a wall or pole, and try a short timer to avoid screen-tap shake. If Night mode is on, keep the phone extra still or shorten the Night mode exposure if your phone allows it. - Does HDR cause blurry photos?
HDR can cause ghosting when the phone combines multiple frames and the subject moves. If faces or hands look smeared, try turning HDR off for that scene. - Why do my photos look sharp on screen but blurry after sharing?
Many apps compress images. Check the app’s upload quality setting, and send as a file or use a higher-quality sharing option when available. - Is it better to use flash to stop blur?
Sometimes. Flash can freeze motion at close range, but it can also create harsh light and reflections. For people indoors, adding a lamp or moving closer to light often looks more natural. - Should I use a camera lens protector?
It depends on the protector quality. Some are fine, others reduce sharpness and increase flare. If you notice haze or softness, test without it and keep the original photo for comparison. - What app settings help the most for sharp photos?
Look for options like focus/exposure lock, disabling beauty smoothing, choosing higher capture quality, and using burst mode. If the app can’t control these well, the native camera app is often more consistent.
If you’re trying to get consistently sharper results and you’d rather not guess each time, a simple routine helps: save a “low light” checklist, keep a small microfiber cloth in your bag, and consider a compact phone tripod or grip if you shoot lots of night or indoor photos.